

How To Make Kitchen Set With Cardboard


This DIY custom kitchen drawer organizer was so easy to brand and toll less than $10 for the entire projection. I am SO THRILLED with how much meliorate my kitchen drawers expect!! They drove me crazy when they were a jumbled mess! I was constantly digging through junk and could never notice what I was looking for in the tangle of whisks and tongs and spatulas.
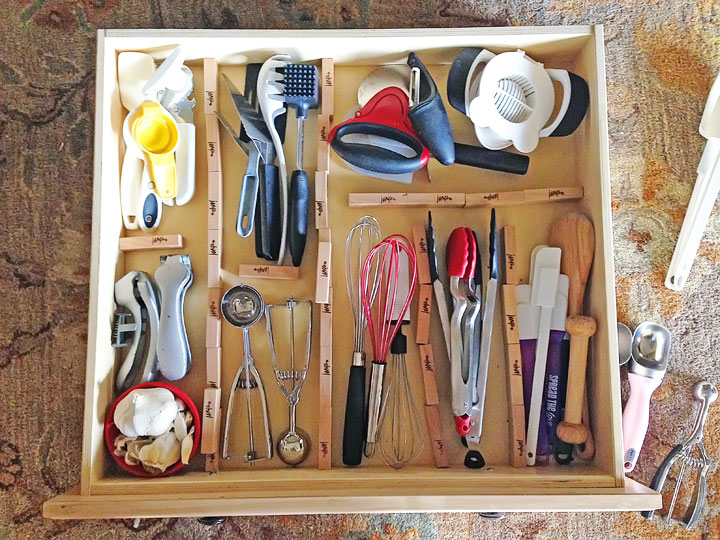
Now with these custom drawer dividers everything is perfectly organized and easy to find. And I'm not a large DIYer, so I'yard telling you, if I have the patience to do this, I promise yous can exercise it as well!!
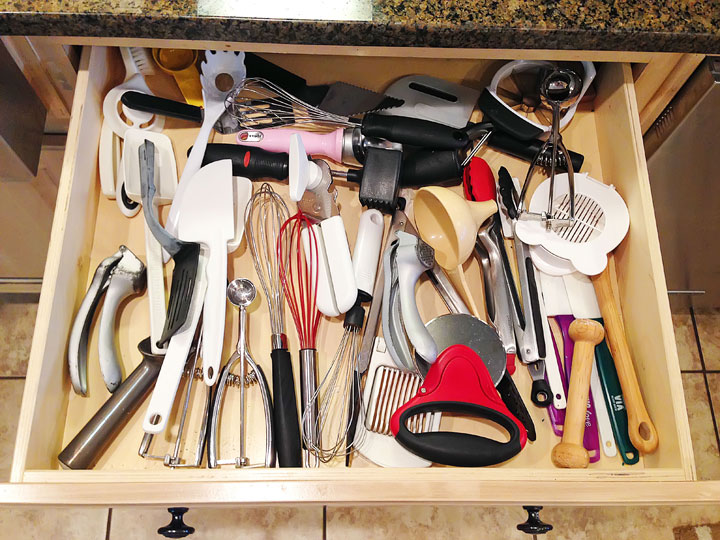
Here's another await at my kitchen drawersearlier. This was a great drawer with tons of storage space. Only information technology definitely needed some drawer dividers! With no dividers, everything was just a jumbled mess.
I knew it had potential, and I kept thinking someday I'd get a drawer organizer for it. The problem with pre-made drawer organizers is that the slots are never big enough and never where I want them to be. And custom drawer organizers are expensive and can take a long time to custom order!
I had an idea one afternoon to makemy ain kitchen drawer organizer and had my brand new drawer dividers the very same day.
First I removed the drawer, took everything out, and sorted everything in the drawer by type: scoops, whisks, spatulas, cutters, etc. Then I placed everything back in the drawer, arranging it similar a puzzle then they would all fit.
I used Jenga blocks as barriers to give me an idea of where the dividers would become. At first I was going to use masking record, but Kevin suggested I use Jenga blocks, and I am never i to argue with board games.
With an idea of how much wood we'd need, nosotros made our style to Lowes.
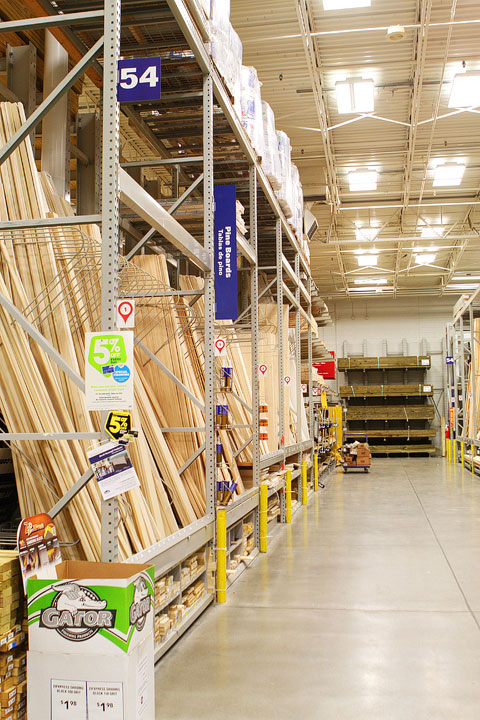
And headed for the lumber aisle to become supplies to brand our new kitchen drawer organizer.
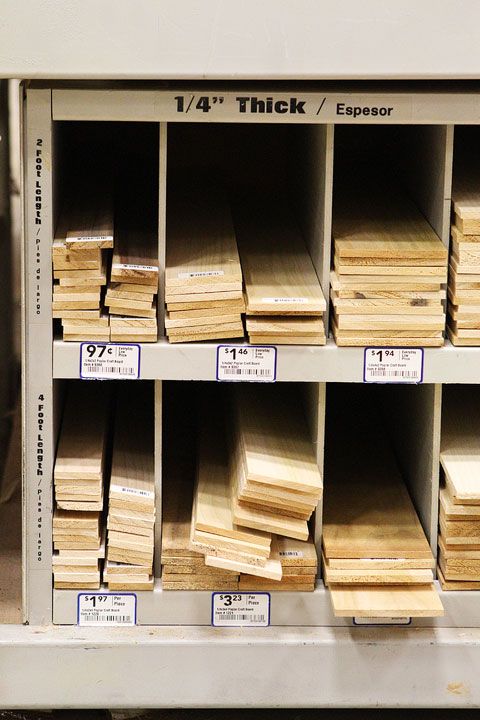
This is what we were looking for — 1/four″ thick craft or hobby lath.
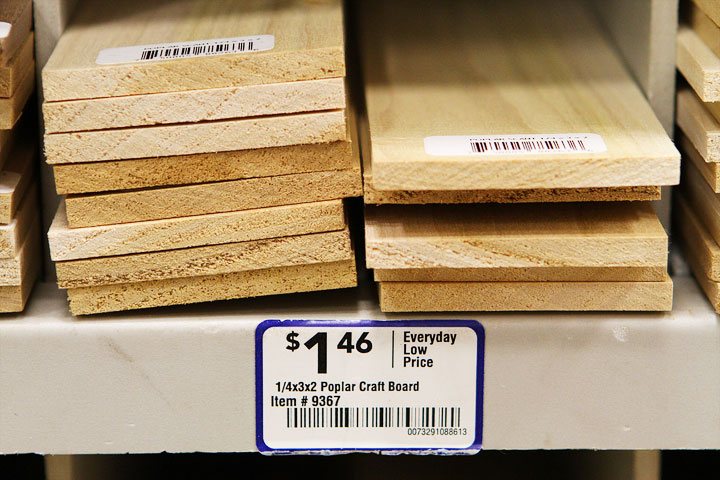
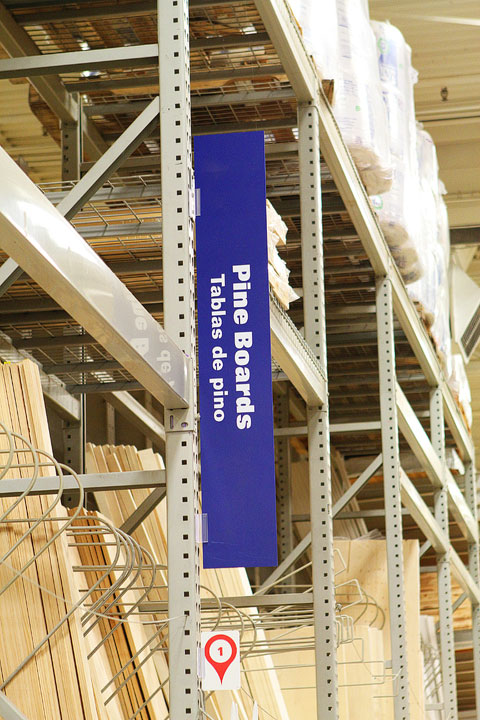
This was exactly what we bought — 1/4 10 3 10 2 Poplar Craft Board.
They also take unlike types of wood: aspen, pine, carmine oak, etc, if you're looking for a unlike type or color of wood.
For the drawer layout below, we needed 6 pieces of wood for a total of $eight.76 earlier tax.
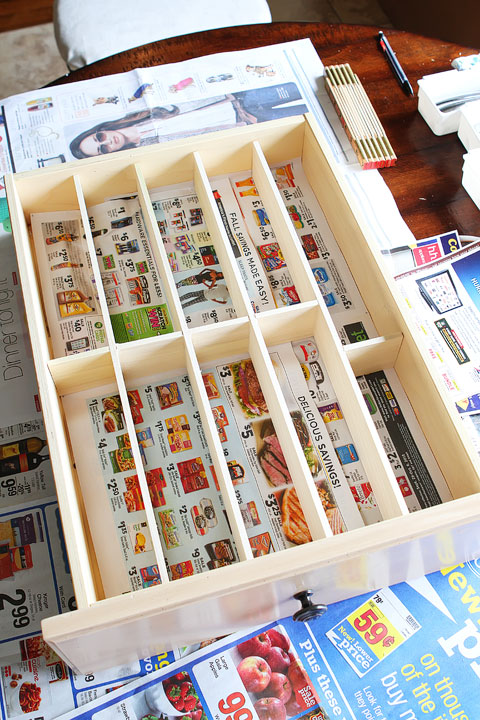
When nosotros got home, Kevin cutting the boards to size. He used a skill saw. We're not big DIYers, and then that's the only kind of saw he had. If y'all know your measurements, Lowe's will as well cut the boards for you! So we set up the boards back in the drawer to make sure they'd fit.
The photograph above is before we glued the boards together or annihilation. They're just sitting snugly in the drawer, non attached.
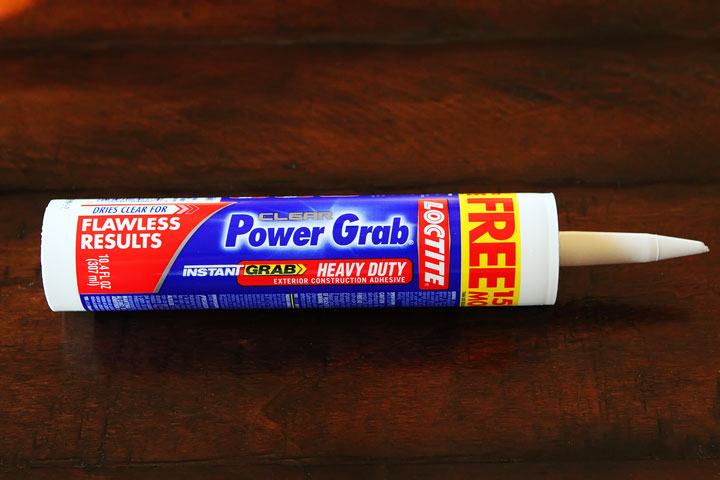
Finally it was time to glue everything together. We used Locite Clear Ability Grab Heavy Duty agglutinative. LOVED that it dried clear!! When we first put it on, you could definitely see a ton of the glue in the cracks. We smoothed out the glue along the seams (like you lot would do caulk) and information technology dried totally clear. You'd never even know it had been at that place.
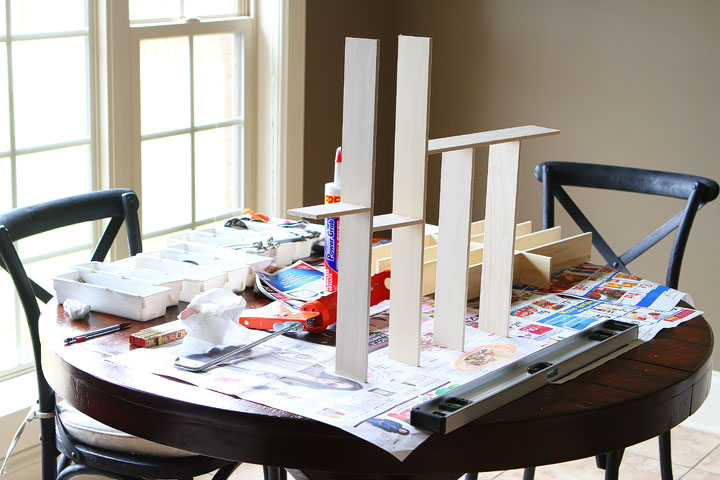
Okay, here'due south a sneak peek at another drawer organizer we did. I'm showing you this ane because I forgot to take a photograph of this footstep for the other drawer! Anyhow, this is just to show yous how nosotros glued everything together. We lined the drawer with newspaper so we wouldn't drip glue on the inside of the drawer, then glued the dividers together, using the drawer every bit our guide.
Nosotros did not gum the boards to the drawer because I wanted the drawer dividers to be removable. I didn't desire to do anything permanent to the drawers.
We glued the boards to each other while the drawer held the boards in place. Using the drawer as a guide helped concur the shape of the dividers and go along the pieces lined up then we knew we were withal on track.
Here are the organizers out of the drawers. Totally removable! They fit snugly inside the drawers and don't move around once inside the drawer. Simply if nosotros ever wanted to accept them out for whatsoever reason (like to clean the drawer) they just lift right out.
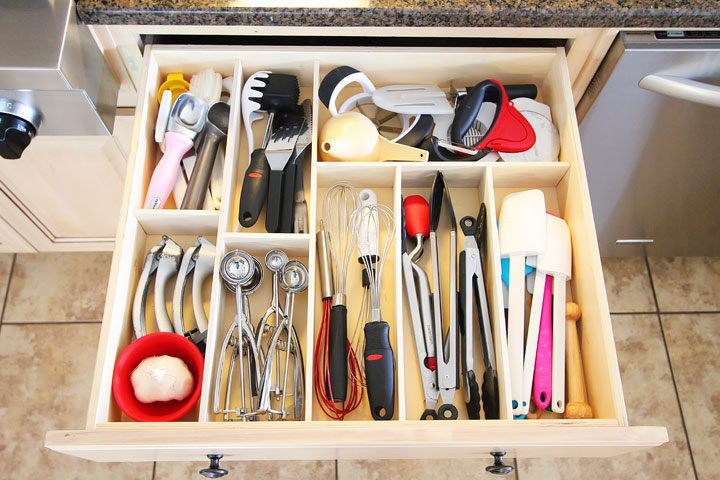
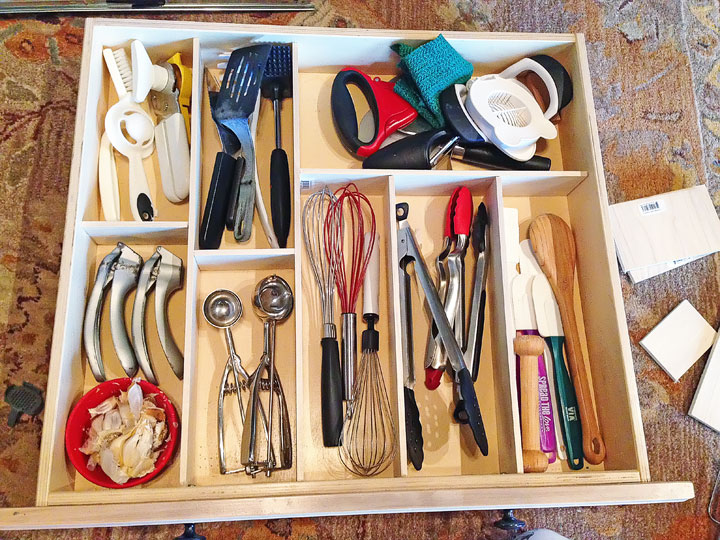
Lastly, we fitted the organizer into the drawer and placed the utensils in their newly organized slots.
Since we had the drawer out anyway, we also installed full extension drawer slides, which are an accented must for getting the well-nigh existent estate out of your drawers. We would non have been able to use that dorsum storage slot (with the funnel and pizza cutter) without total extension drawer slides.
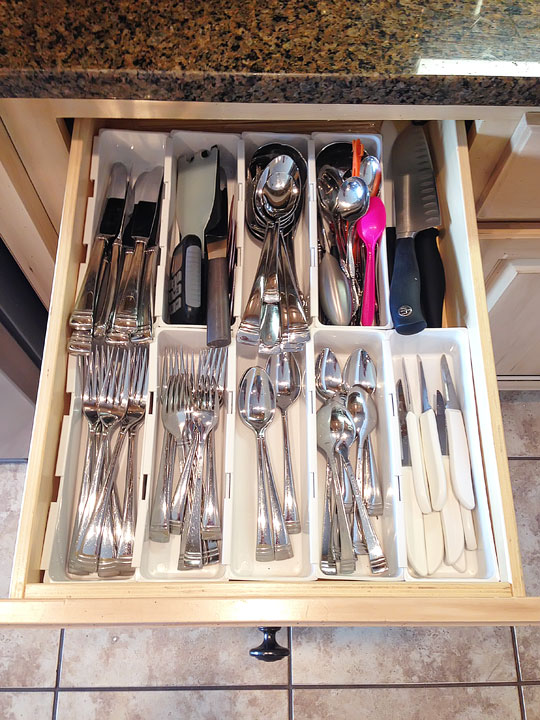
While we were at information technology, we also organized our cutlery drawer. Hither's what it looked similar before. It was okay, but yous can meet my knives and some of the other utensils were likewise large and hung over the edge of those cheap plastic trays.
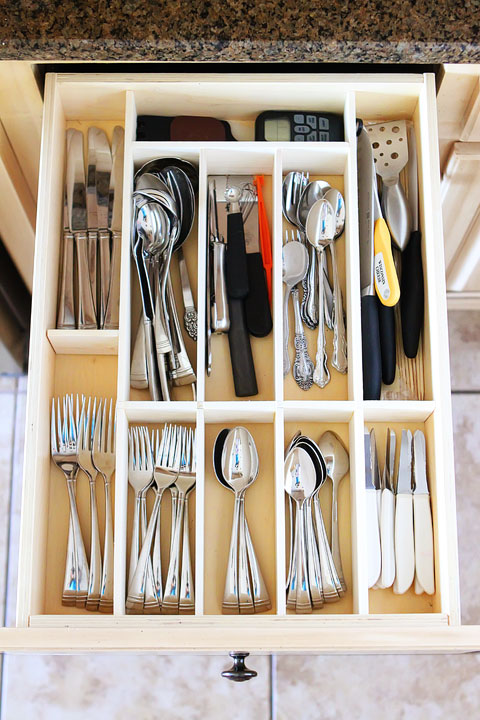
And hither's what the looks like at present with our custom kitchen drawer organizer. So much better! We installed the full extension drawer slides here too. You can see information technology opened upwardly a whole new back storage slot. And now nothing is hanging over the edge.
Make certain you have WD-40 on hand if yous are going to install new drawer slides. Nosotros had to generously spray the new slides with WD-40 and open and close the drawer well-nigh 100 times to go information technology opening and closing smoothly once more.
Like this post? Share it on Pinterest!
Totally attempt this on your kitchen drawers!! These kitchen drawer organizer are and so like shooting fish in a barrel to brand and look professionally made. It's beautiful and it makes the drawer a thousand times more functional since everything is organized and easy to reach!
Kitchen Drawer Organizer Update
V year update! Many of you have asked how these drawer organizers are holding up. Five years later on we are STILL using these aforementioned drawer dividers!

How To Make Kitchen Set With Cardboard,
Source: https://www.kevinandamanda.com/kitchen-drawer-organizer/
Posted by: mannshemord.blogspot.com
0 Response to "How To Make Kitchen Set With Cardboard"
Post a Comment